The next cohort is almost full. One applicant has paid but still needs a document reviewed. Another has uploaded everything but selected the wrong start date. A third believes admission to the school means clinical placement is already confirmed.
These are different problems, and a single “registered” label does not explain them.
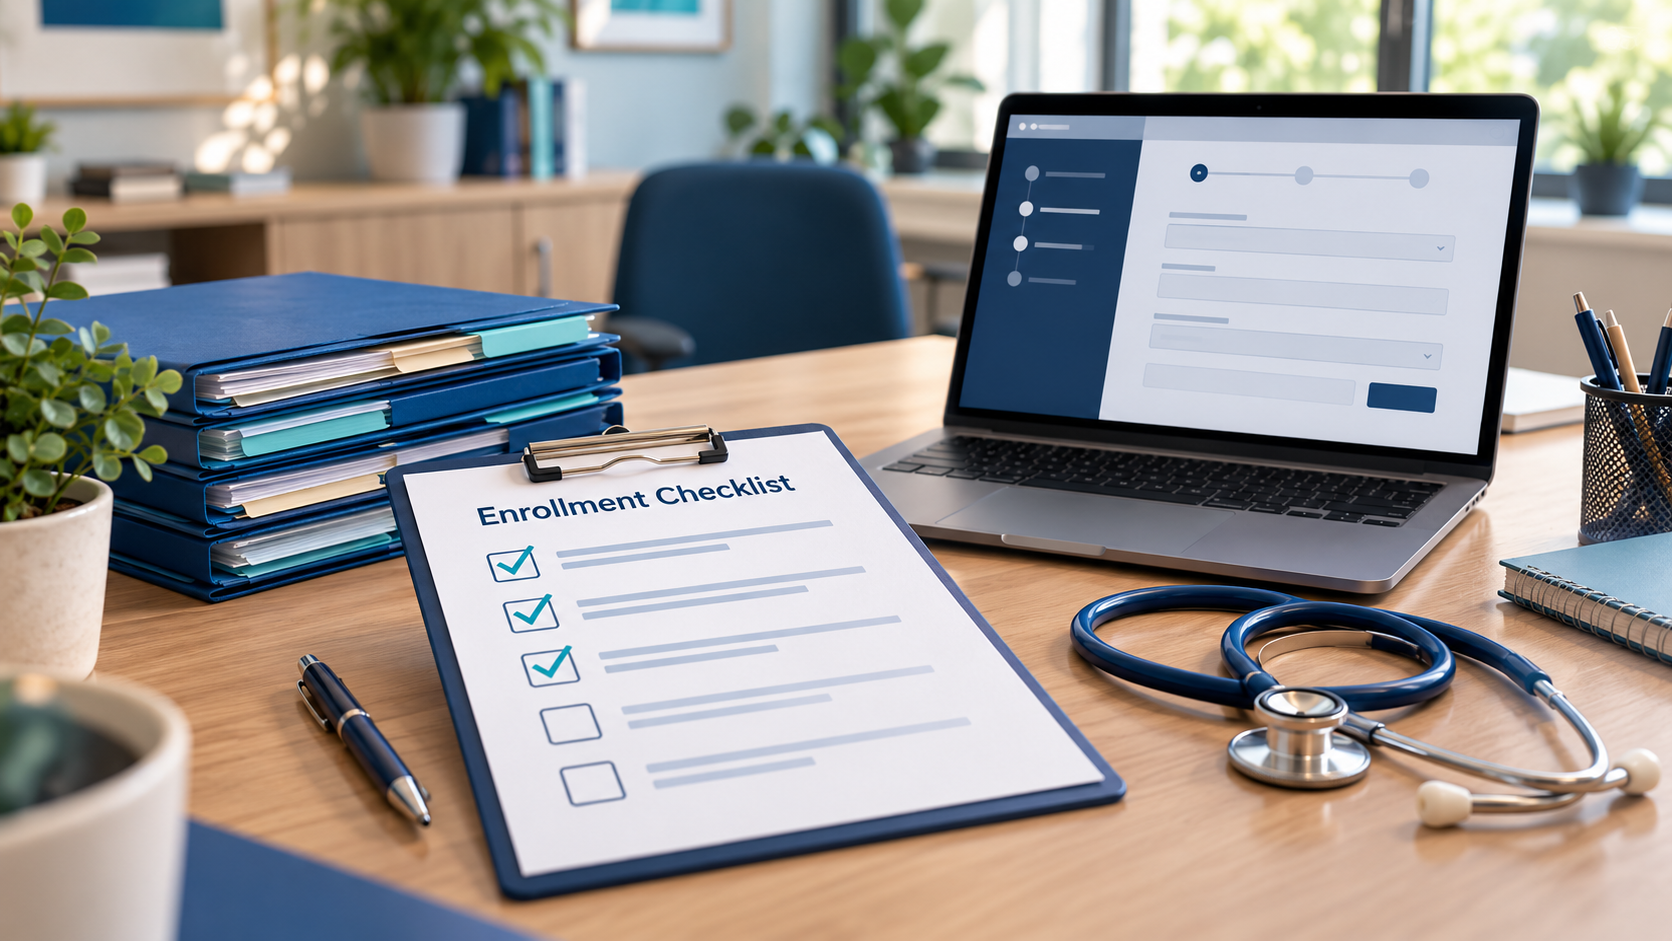
A CNA and allied health enrollment checklist should track program eligibility, the selected cohort, required documents, financial arrangements, orientation, and any separate clearance needed for lab or clinical participation. Each requirement needs a due date, a reviewer, and a clear status.
Use the checklist below as an administrative starting point. Adapt it to the specific program, state, school policies, and placement agreements.
First, separate the rules that govern your program
CNA training and other allied health programs do not share one universal enrollment checklist. A requirement for a nurse aide program may not apply to a phlebotomy, medical assistant, or other training program.
For nurse aide training governed by 42 CFR 483.152, the federal requirements include at least 75 clock hours. State requirements can be higher. For example, the Georgia Nurse Aide Registry identifies a minimum of 85 hours for approved Georgia programs.
Those numbers illustrate why the checklist needs a jurisdiction and program version. They do not determine every applicant's eligibility, your complete curriculum, or another state's requirements.
For each checklist item, record whether it comes from a regulator, school policy, clinical partner, testing organization, or funding agreement. Keep the current source and the person responsible for checking it.
1. Confirm the program and cohort
Before requesting a long list of documents, make sure the applicant understands the course they are choosing.
- Program name and the credential or completion document awarded.
- Selected start date, schedule, location, and delivery format.
- Classroom, lab, and clinical commitments where applicable.
- Total published cost and separate required expenses.
- Attendance, make-up, cancellation, and refund policies.
- Any separate examination, registry, or certification process after the course.
Ask the applicant to confirm the selected cohort. Someone who can attend evening classes may still be unable to attend a required daytime placement. Surface that issue before treating the enrollment as complete.
2. Review eligibility without inventing universal requirements
Your program may require evidence of age, prior education, prerequisite training, language or academic readiness, or other conditions. Include only requirements that actually apply and explain them accurately.
For each item, use a record such as:
- Requirement and reason.
- Accepted evidence.
- Submission deadline.
- Applicant status: not received, received, under review, accepted, or needs correction.
- Reviewer and review date.
- Next action and who owns it.
“Received” should not mean “approved.” An unreadable upload or an expired document is still a task requiring attention.
Provide an appropriate route for accommodation questions. Do not improvise eligibility decisions or medical judgments in an admissions email.
3. Handle clinical-site requirements as a separate stage
Where applicable, your clinical partner may require specific health clearance, screening, orientation, agreements, or other documentation before participation. Confirm the current requirements with the partner and relevant program authority.
Explain which conditions must be satisfied before the first class and which must be satisfied before placement. Also explain what happens if a condition is not met in time.
Avoid putting sensitive details into a broadly shared roster. Staff arranging schedules may need to see that clearance is pending without seeing the underlying health documentation. Store and share information according to the permissions and obligations that apply.
Never promise a placement simply because a student has paid tuition unless the school can substantiate that promise and its conditions.
4. Confirm the financial arrangement
Record the person or organization responsible for payment separately from the student receiving training.
- Total charges and itemized required fees.
- Deposit received and what it reserves.
- Remaining balance and payment due dates.
- Approved sponsor or funding authorization, if applicable.
- Relevant cancellation and refund terms acknowledged.
- Payment status, including pending or failed transactions.
A submitted payment is not always a completed payment. Staff need to understand what the system's statuses mean and which event permits the next enrollment step.
If an employer is paying, obtain the authorization and invoicing instructions before assuming the student's balance has been covered.
5. Prepare the student for day one
Send a clear readiness message that states:
- Where to go or how to access the online portion.
- Start time and who to contact if there is a problem.
- Materials, equipment, or clothing required by the program.
- Orientation tasks and portal access instructions.
- Outstanding items and their deadlines.
- Whether the student is cleared for the relevant activity.
Test the message with someone who does not work in admissions. Can they identify what to do next without opening several unrelated emails?
A weekly readiness review for administrators
Before each cohort starts, sort applicants into useful action groups rather than one undifferentiated list:
Ready: All requirements for the upcoming stage are accepted.
Waiting on the applicant: A specified item or correction is needed.
Waiting on the school: Review, approval, scheduling, or a response is overdue.
Waiting on a third party: Sponsor authorization or a placement-related decision remains open.
Requires a decision: Staff must resolve a policy, timing, or eligibility question.
Every unresolved record should have one owner and one next action. This makes it easier to distinguish a student who has stopped responding from one whose application is sitting in the school's review queue.
An example of how the checklist prevents confusion
Imagine an applicant named Taylor who has paid a deposit and uploaded a required clearance document. The document has not been reviewed.
A vague record says “enrolled.” A useful record says “seat reserved; classroom orientation ready; clinical clearance under review; reviewer assigned; decision due Thursday.”
That example is an administrative design recommendation, not a claim that those statuses are built into every software platform. Choose statuses your staff can apply consistently.
Frequently asked questions
Does paying tuition mean a student is cleared for clinical training?
Not automatically. Financial status and clinical readiness are separate questions. Follow the requirements and approvals that apply to the program and site.
Should every document be collected during the first inquiry?
Usually the inquiry should collect enough information to respond and establish fit. Request additional documents at the appropriate enrollment stage, while meeting required deadlines and explaining what is needed.
Can this checklist be used outside CNA programs?
The workflow can be adapted. The specific eligibility, hour, examination, and placement requirements must be replaced with those for the actual program.
Keep the student record connected to enrollment
Steams Online provides registration tools and student management for organizing enrollment and student records.
Bring your current checklist to a demonstration. Ask the team to show how your staff would collect information, review documents, track outstanding tasks, and distinguish payment from program readiness.