-
Solutions

Class Registration & Enrollment.
Let students register and pay for classes online while keeping enrollment organized in one place.

CRM & Lead Management
Turn more inquiries into enrollments by keeping every lead, follow-up, and conversation organized in one place.

Student Management (SIS)
Manage student records, enrollment, documents, communication, progress, and day-to-day administrative activity from one central system.

Billing & Payments
Collect online payments, manage invoices, receipts, payment plans, subscriptions, and account balances from one system.

Learning Management (LMS)
Deliver online and instructor-led learning with course materials, assignments, quizzes, grading, progress tracking, and certificates.

Automation & Integrations
Reduce repetitive administrative work with automation and connect Steams to the other tools your organization uses.

Reporting & Analytics
Turn your operational data into useful insights with reports covering enrollment, students, payments, accounts receivable, and program performance.
- Blogs
- Support Center
- Contact
- About
Support Center
Support Center / Get Started With The Basics / Account Management / How can I upload my company's logo? How can I upload my company's logo?
How can I upload my company's logo?
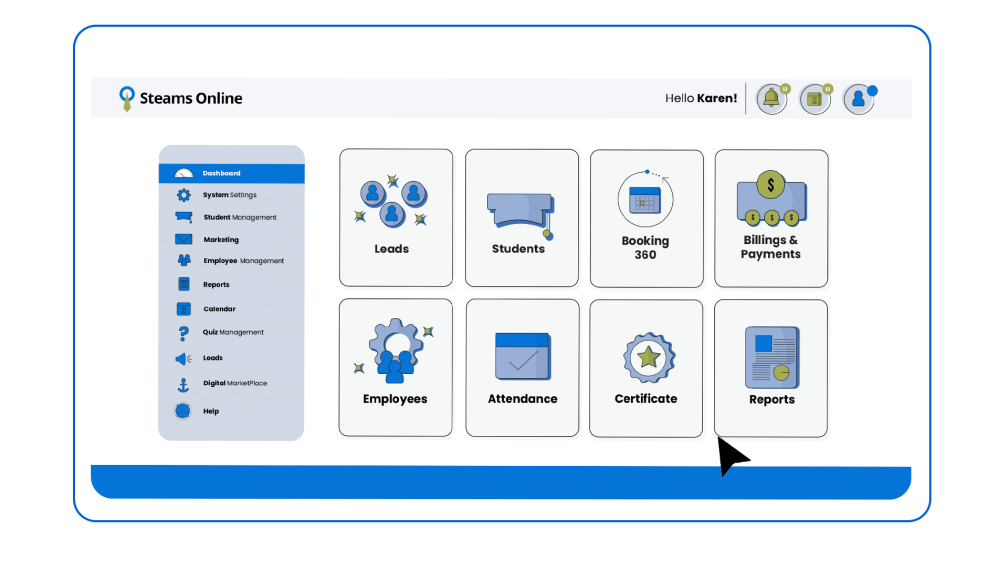
1. Log into your account to access your dashboard.
2. Click on the "System Settings" tab to extend the menu and click the "Account Settings" link.
3. Click on the "Business Logo" tab
4. Click on the button, "Choose File."
5.Once you click on the button it will open the navigation box. Browse to the location where you saved the logo on your local machine.
6. Locate the logo and double click on it to select.
7. Click on the "Update" button to upload the logo.
Related Articles
Solutions